Exterior cladding must be installed with adequate clearance above finished ground to protect the wall assembly from moisture exposure, snow buildup, splash-back, and premature deterioration.
One of the most common exterior deficiencies identified at final inspection occurs when siding is installed too close to grade. Although this detail may appear minor, insufficient clearance can lead to durability issues, moisture damage, and inspection failure.
This article explains why siding clearance matters, what inspectors look for, and how this issue is typically corrected on site.
Why Siding Installed Too Close to Grade Is a Problem
When siding is installed tight to the ground or landscaping, several issues occur at once:
- Moisture can wick into the wall assembly, increasing the risk of rot, mold, and concealed deterioration.
- Snow accumulation keeps the lower portion of the wall wet for extended periods, particularly during Ontario winters.
- Splash-back from rain and melting snow accelerates material breakdown.
- Soil contact creates an easy pathway for insects and rodents into wall cavities.
- Inspectors cannot visually confirm clearance, drainage, or base protection details.
Even materials considered durable, such as metal siding or fibre cement, are not exempt. The concern is not only the cladding material itself, but the performance of the entire wall assembly.
What Clearance Is Typically Required
While the Ontario Building Code does not prescribe a single universal clearance dimension for all siding types, manufacturer installation instructions and accepted construction practice generally require:
- A minimum clearance between the bottom of exterior cladding and finished grade
(commonly around 150 mm / 6 inches unless otherwise specified by the product). - Visible separation that allows drainage, drying, and inspection access.
- Final grading that slopes away from the building to prevent water accumulation at the foundation.
Zero clearance to grade will almost always result in an inspection failure.
Manufacturers’ requirements are enforceable, and installations that do not follow them are considered non-compliant.
How This Issue Is Commonly Corrected
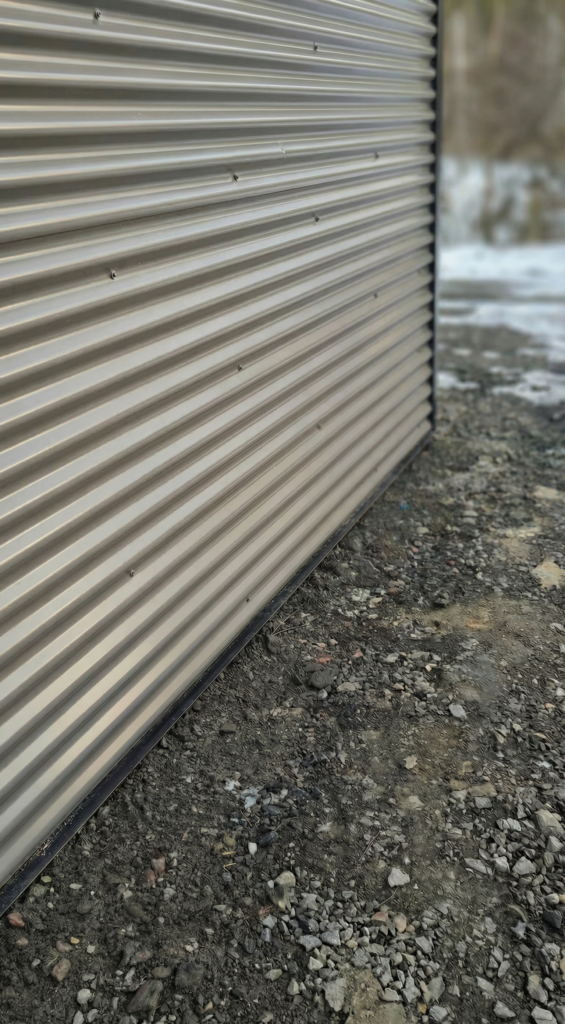
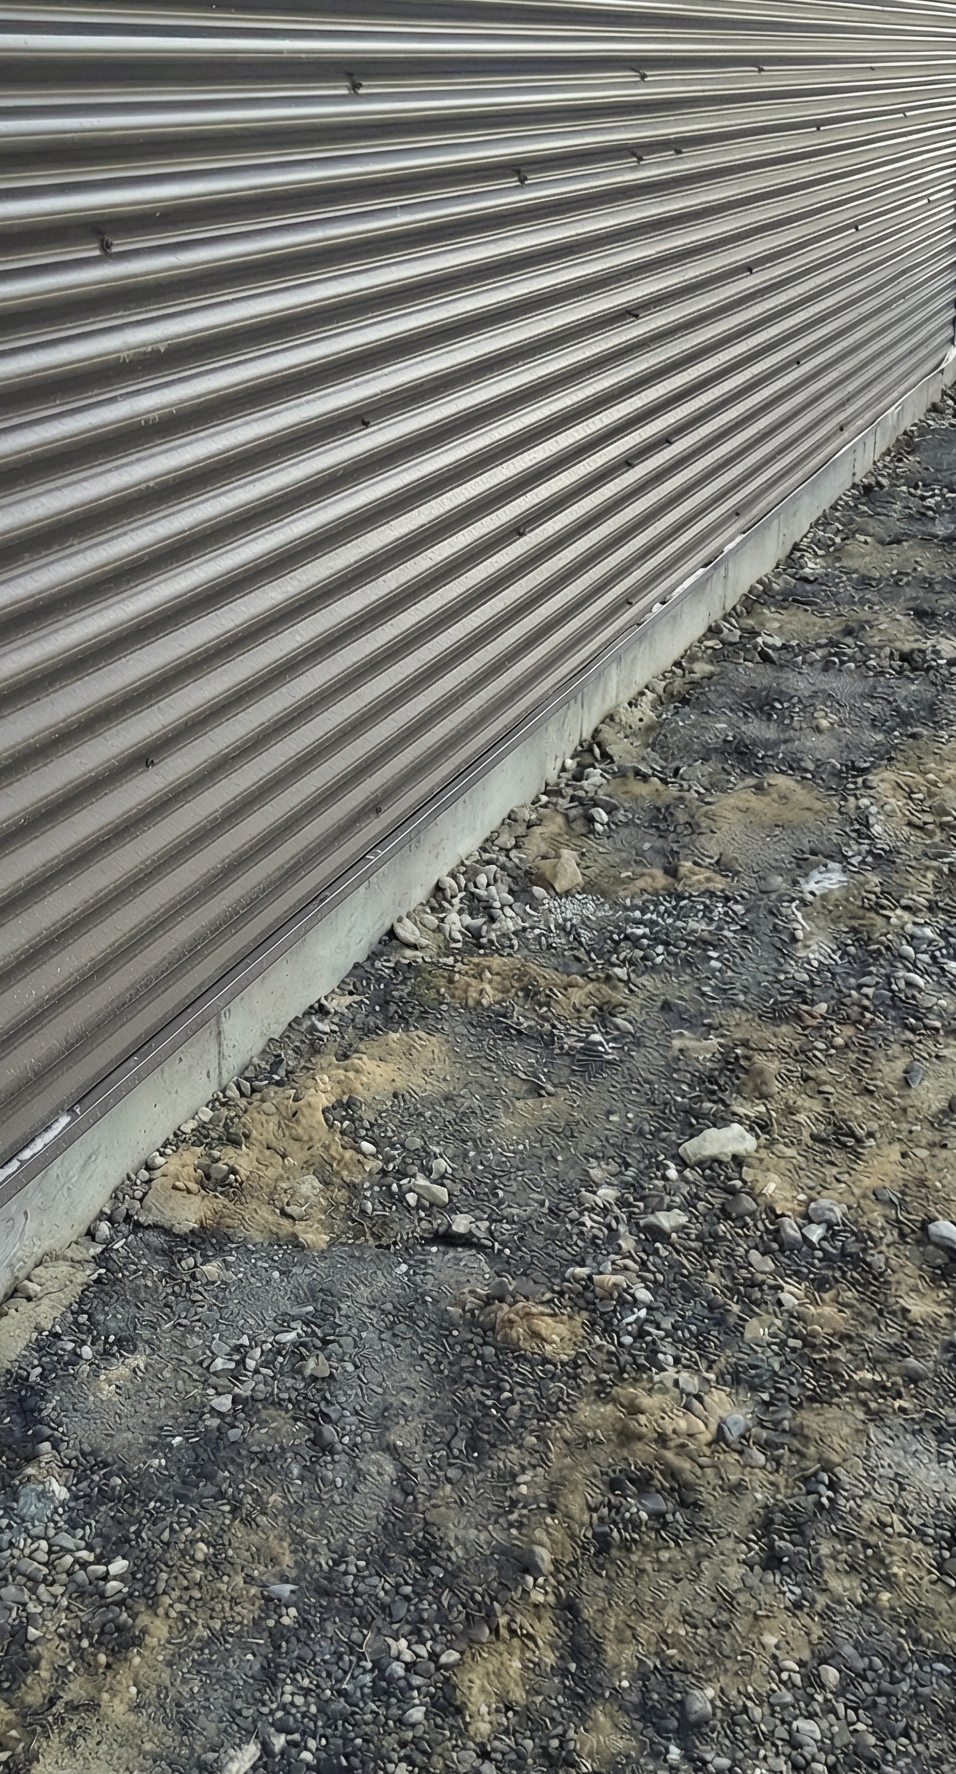
In the example shown below, the original installation had siding terminating too close to the ground. The deficiency was corrected by:
- Lowering the finished grade along the wall line.
- Creating a visible clearance zone between the bottom of siding and the ground.
- Maintaining continuous base protection at the wall while preventing soil contact.
- Ensuring positive drainage away from the building.
This correction allows moisture to drain and evaporate instead of remaining trapped against the wall assembly.
Inspection Tip for Homeowners and Builders
Before requesting a final inspection:
- Walk the entire perimeter of the building.
- Confirm visible clearance between siding and finished ground everywhere.
- Re-check clearance after landscaping and final grading, as it is often reduced unintentionally.
- Remove soil, mulch, or snow that bridges the clearance zone.
- Verify base flashing or protective details remain intact and visible.
Addressing this early avoids re-inspections, delays, and future moisture-related repairs.
Key Takeaway
Siding clearance is not cosmetic. It directly affects moisture control, durability, and long-term building performance.
Maintaining proper separation between exterior cladding and grade protects the wall assembly and supports smooth final inspection approval. A small adjustment during construction can prevent significant problems later.
Disclaimer: This article is for general educational purposes only. Building Code interpretation and enforcement may vary by municipality. Always confirm requirements with your local Authority Having Jurisdiction.